|
|---|

| Disassembly | ||
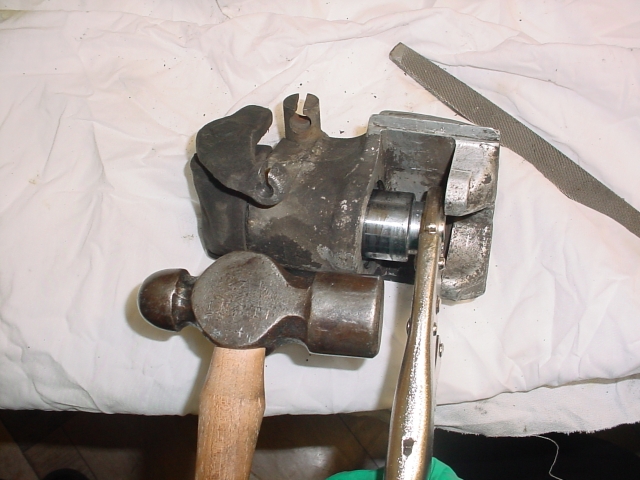
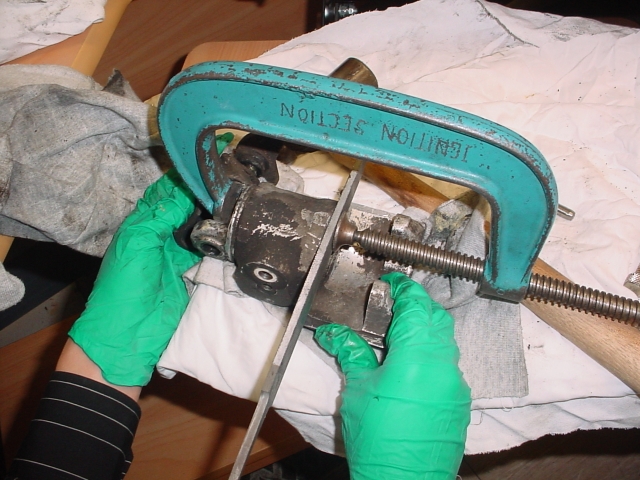
| First up, gotta have the right tools. From left top, clockwise, a circlip plier (internal), a vicegrip, a hammer, a flat file (or a fat, flat blade screwdriver, if not available), a cresent (or correct size wrenches), G clamp (This one is modified slightly for the application), a drift and a punch. 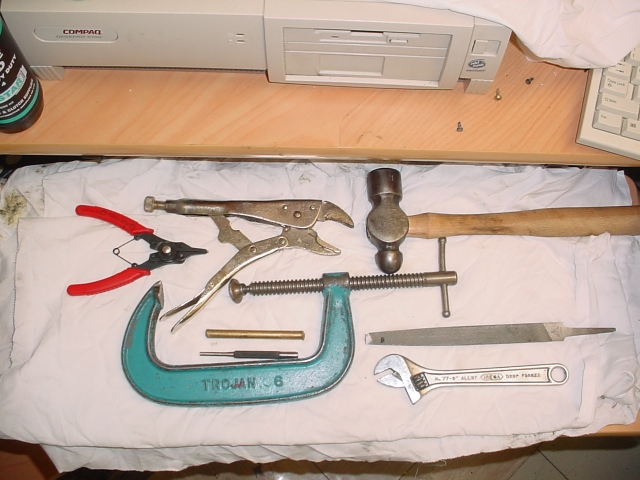 A dirty calipers, ready to be disassembled. 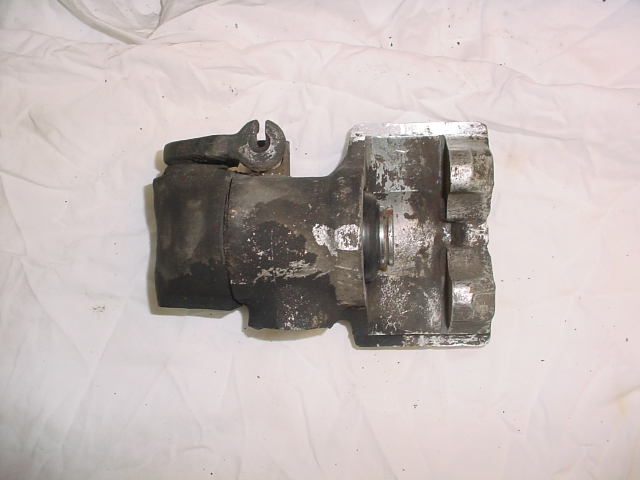 A flat file is fit in the slot of the piston face and turned counter clockwise to loosen it. At first, it would be best to get started with the side of the file in the slot as shown in the picture as the piston would be rather reluctant to move. 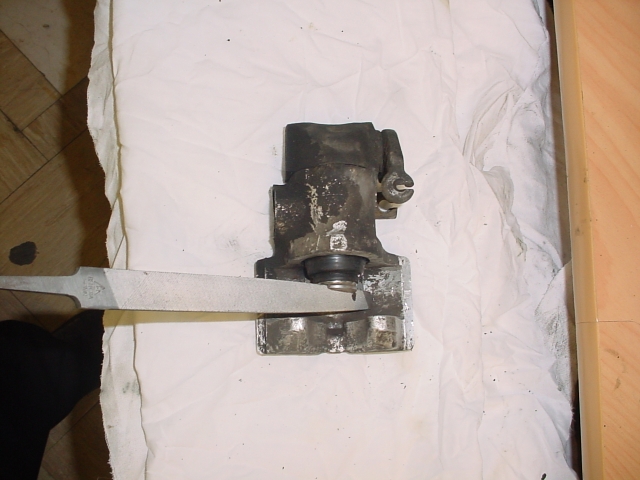 Once you break free the piston using a file, it should be relatively straightforward to unscrew until the piston is off the threaded rod. If it doesn’t drop out, use a vice grip to grab it around the piston (make sure grab it by the smaller diameter of the piston) and wiggle it out turning it back and forth. You could give it a little more encouragement with a hammer as shown, if necessary.
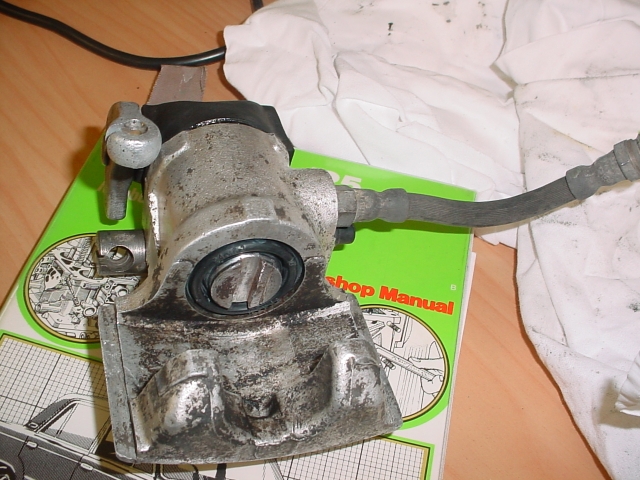
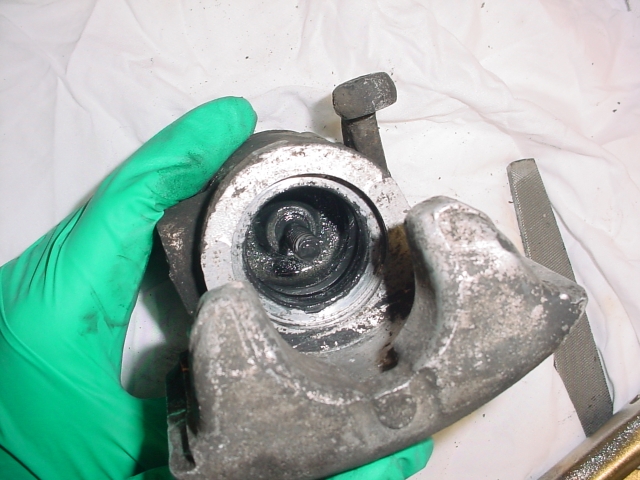
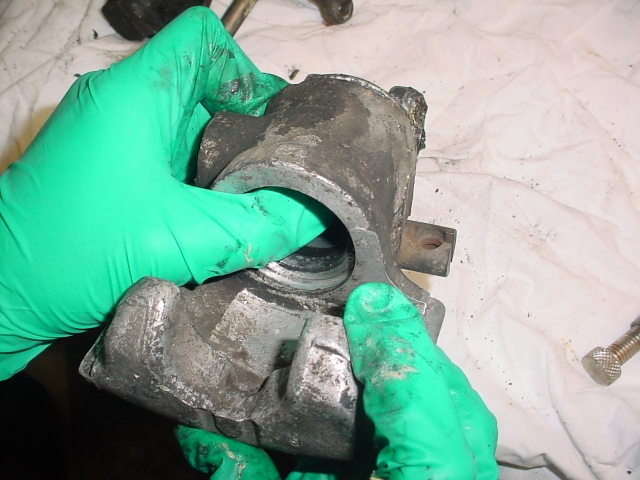
Here is a photo of the calipers with the piston removed.
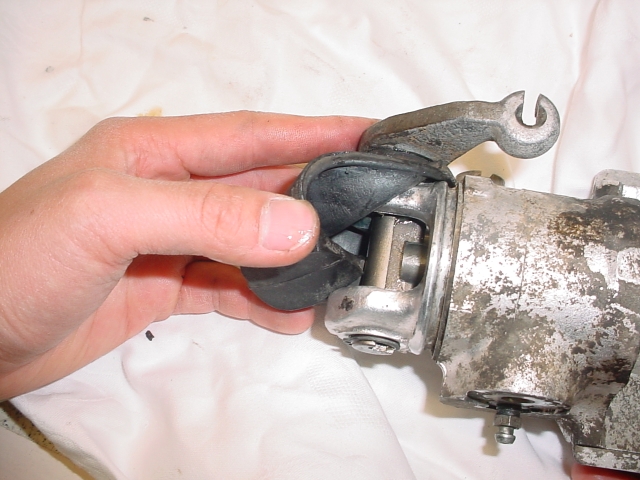
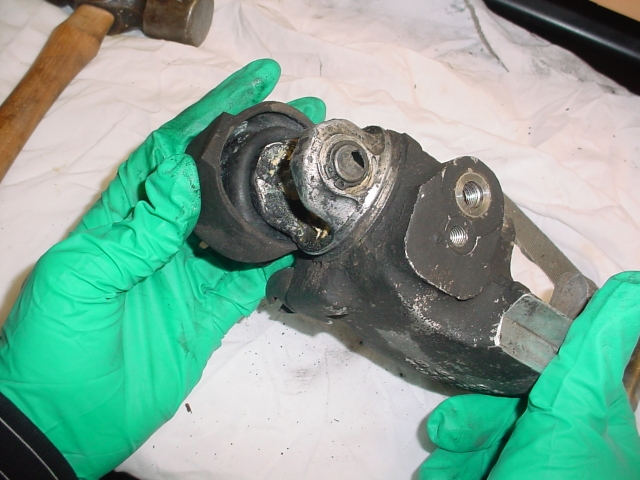
First, pull back the rubber boot to expose the mechanism – it cannot be removed just yet.
Use circlip pliers to removed the circlip.
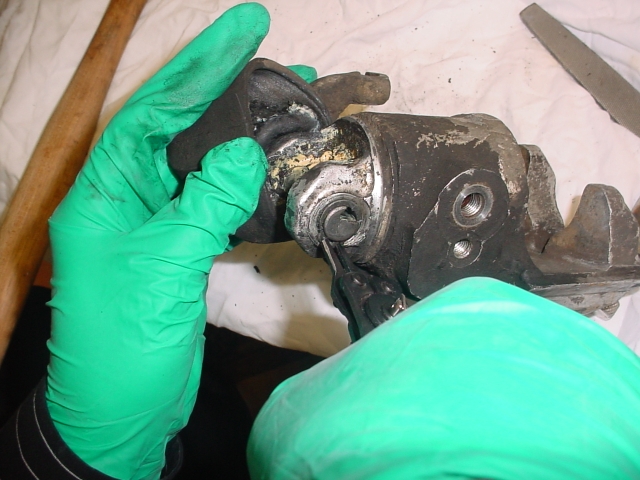
1. Use
a plain old drift/punch to drive out the pin. It takes a bit of force to
push it out because the pin is being 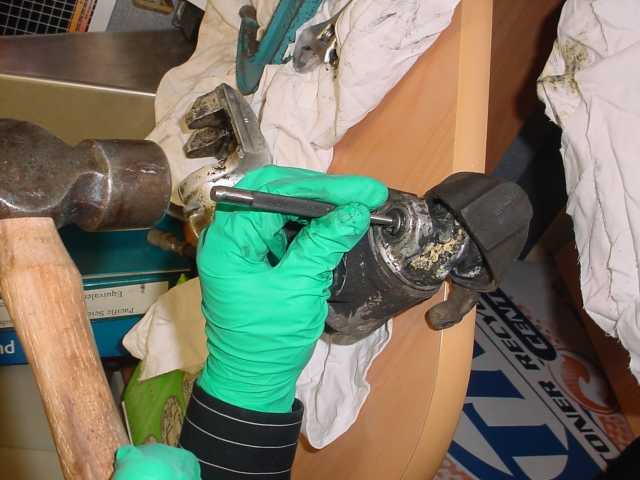
2. Use
a G-clamp to clamp up the threaded rod at the pin end (on which piston was
screwed) against the calipers body to relieve spring washer compression. It
can be a bit tricky if the head of the G-clamp is too big to fit in there.
We had this problem but got around it by grinding little notches to fit. This
is definitely easier way of getting the pin out. Besides, you have to use
this method to put things back together later on.
Disassembly is complete. 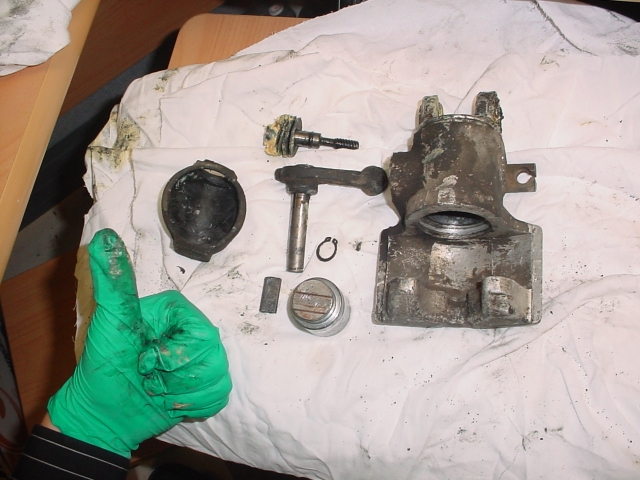 |
||
| Assembly | ||
After thoroughly cleaning the disassembled parts with solvent and a brush (parts washing bath works great), we can get started on assembly.
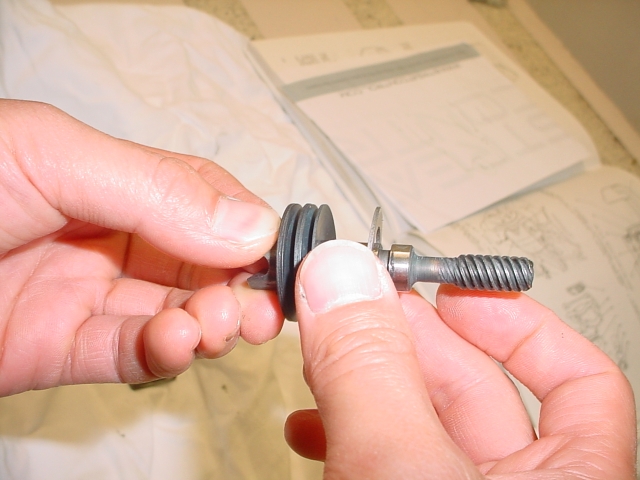
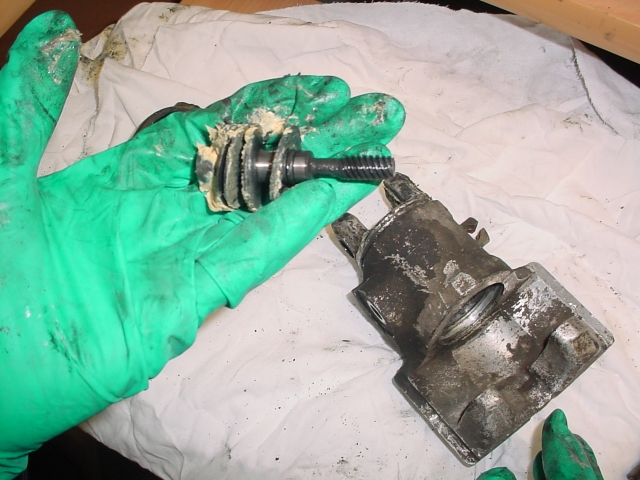
Be sure to stack the spring washers in correct orientation. (Refer to a manual or a sketch if one was made during disassembly) Put a shaft seal in the groove.
Insert the pin into the calipers housing. Assembly of the hand brake parts is reverse of disassembly. Install the rubber boot in the pin. Apply grease (wheel bearing grease or similar heavy grease works fine) over the washers and the area which is to be covered by the rubber boot. The grease, in my view, is more for preventing moisture and dirt ingress that lubricating as the movement in there is minimal. Compress the spring washers with a G-clamp over the threaded rod and the calipers housing. Insert the wedge shaped bit and hold while pushing in the pin. Replace the circlips.
More grease to seal the deal and cover it up with the rubber boot.
Put seals in the piston bore and over the piston. Lubricate the seal surfaces with brake fluid and screw in the piston. It's all done. |
||